The Raspberry Pi 5 is the edge compute node for EgoAgent — it will run real-time inference on a wearable camera stream. The AI HAT+ 2 adds a dedicated Hailo-10H NPU with 40 TOPS, which is what makes on-device vision-language inference feasible without a cloud dependency.
This entry covers the hardware assembly and getting the NPU driver running. It took about an afternoon, with most of the time lost to a driver mismatch that I document below — save yourself that detour.
What you need
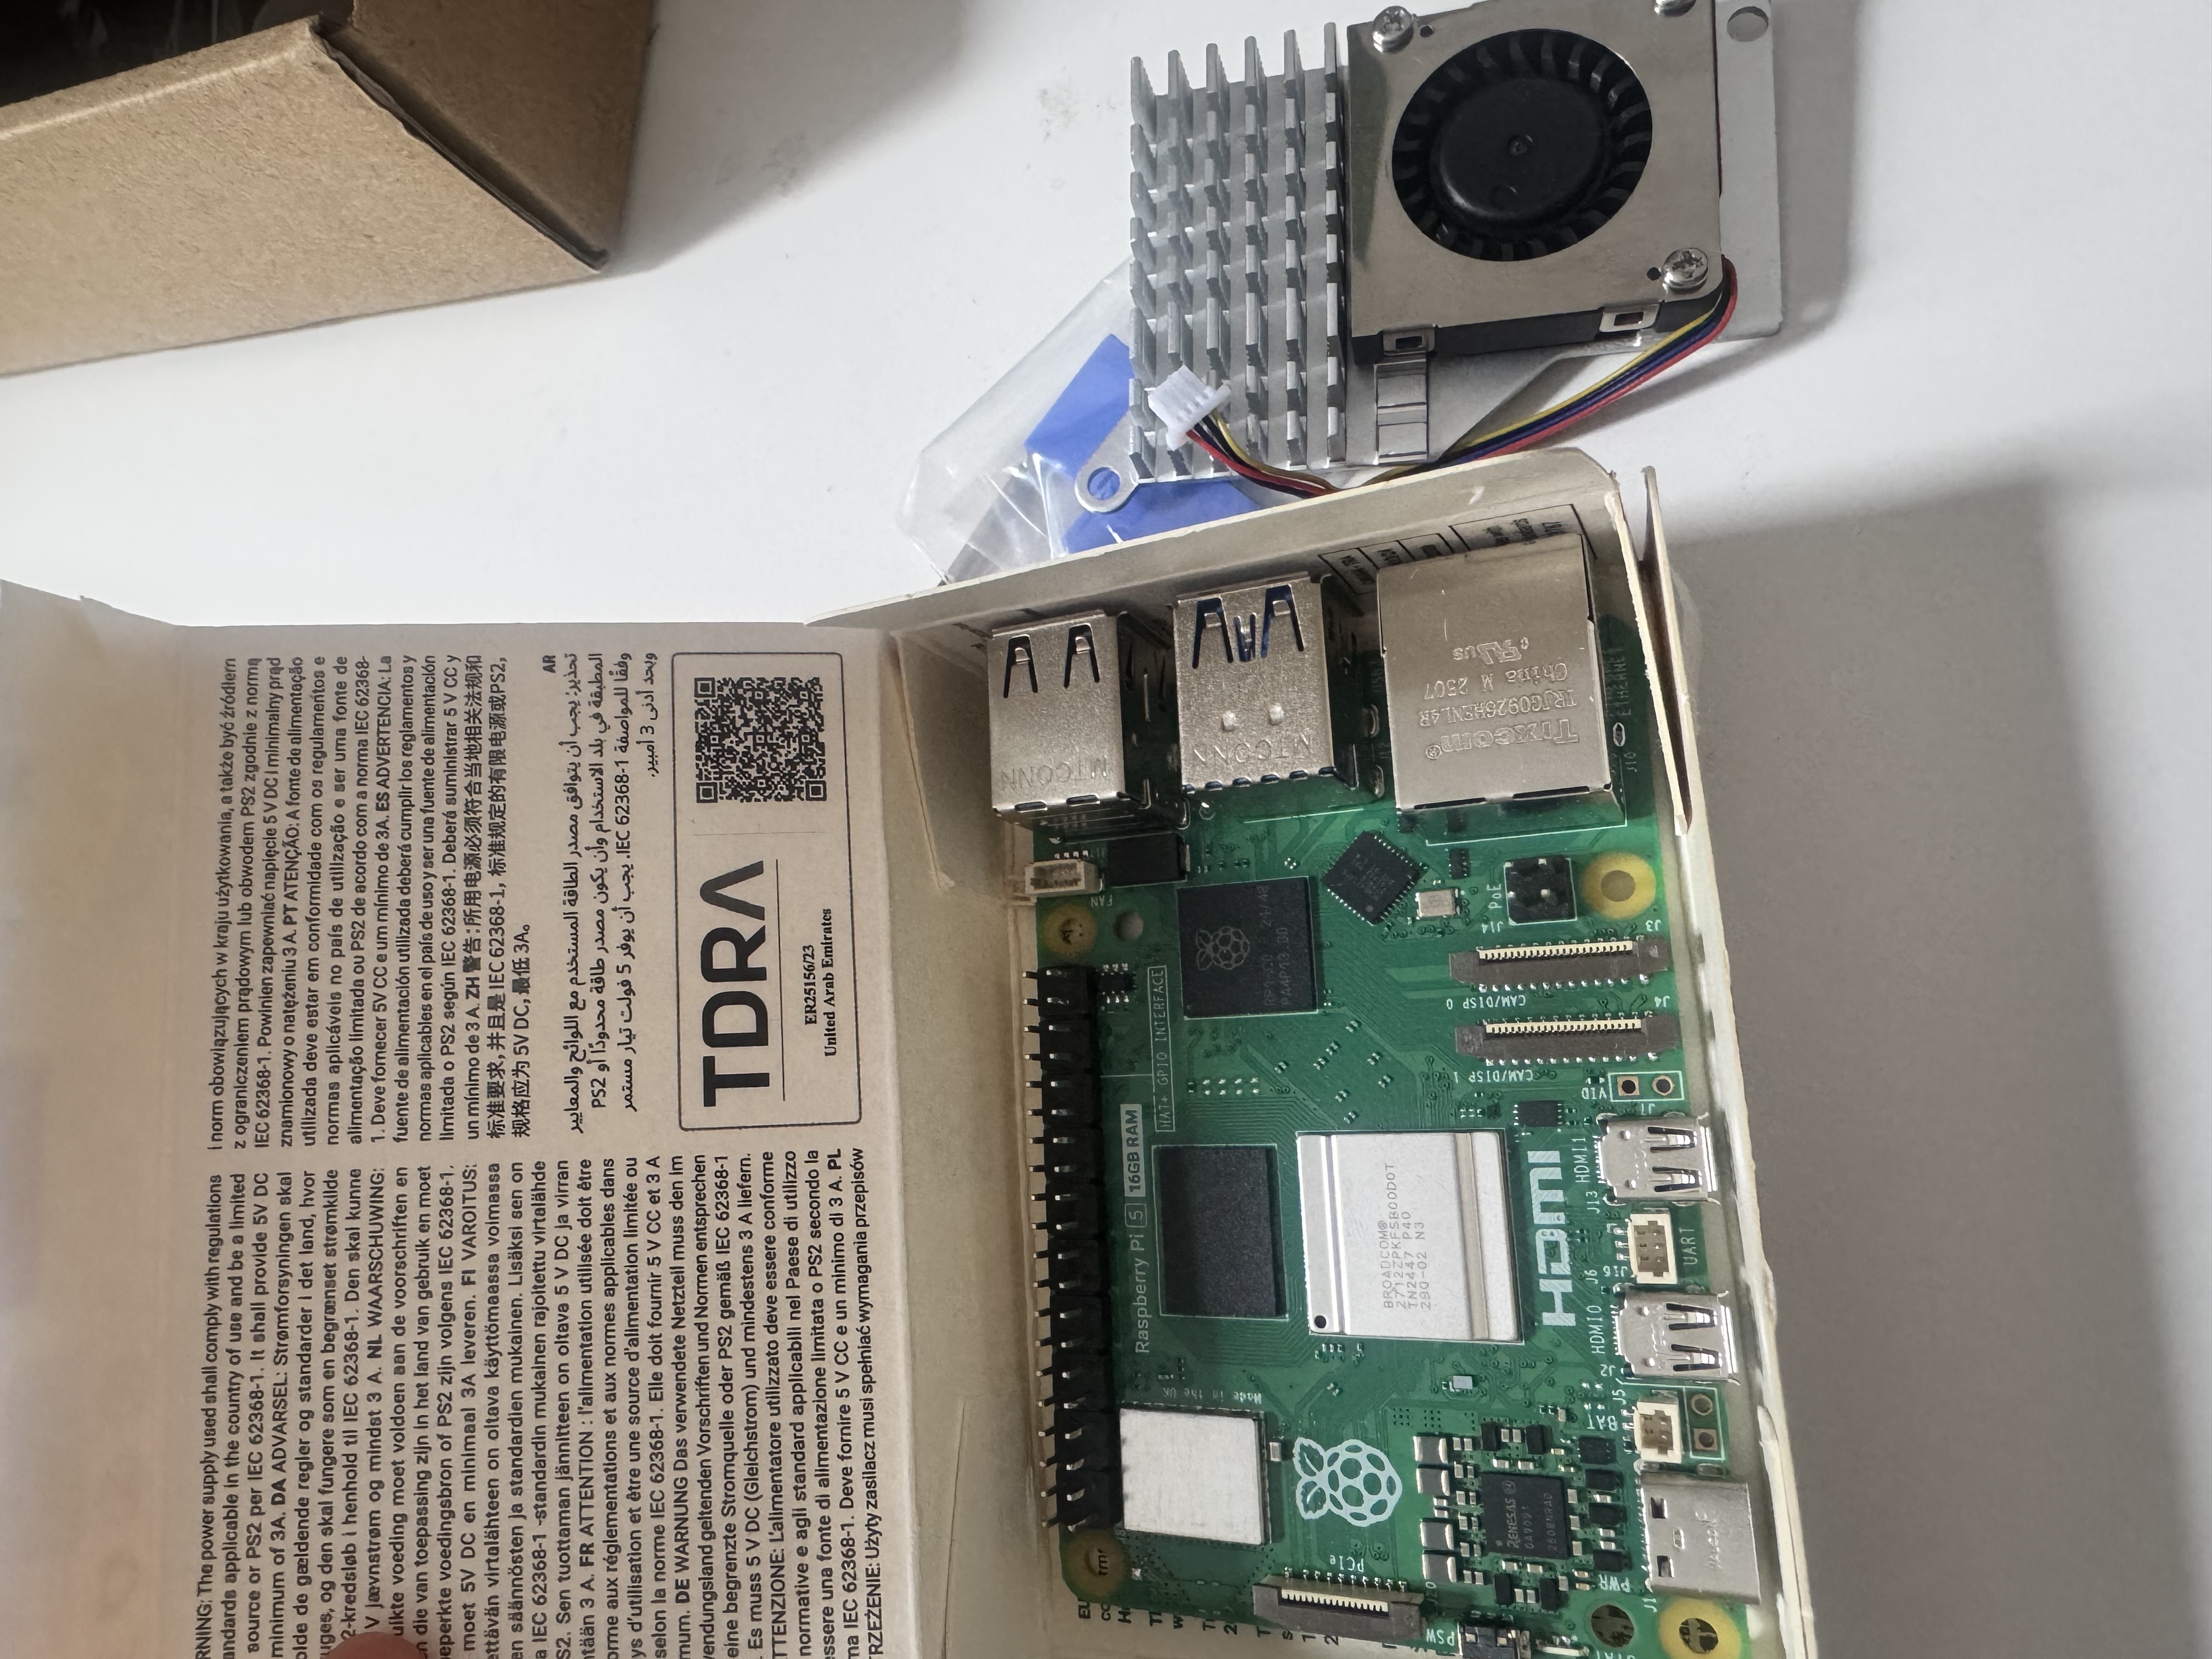
- Raspberry Pi 5 (16 GB variant)
- Raspberry Pi AI HAT+ 2 (Hailo-10H, 40 TOPS INT4, 8 GB dedicated SRAM)
- Raspberry Pi Active Cooler — mandatory once the NPU is under load
- USB-C PSU 5V/5A — the official Pi 5 supply or equivalent; anything less causes throttling
- microSD card A2 class, 64 GB or more — you can’t use NVMe here, the PCIe slot is taken by the HAT
- WiFi access — used for initial setup before SSH over Tailscale (no Ethernet cable needed)
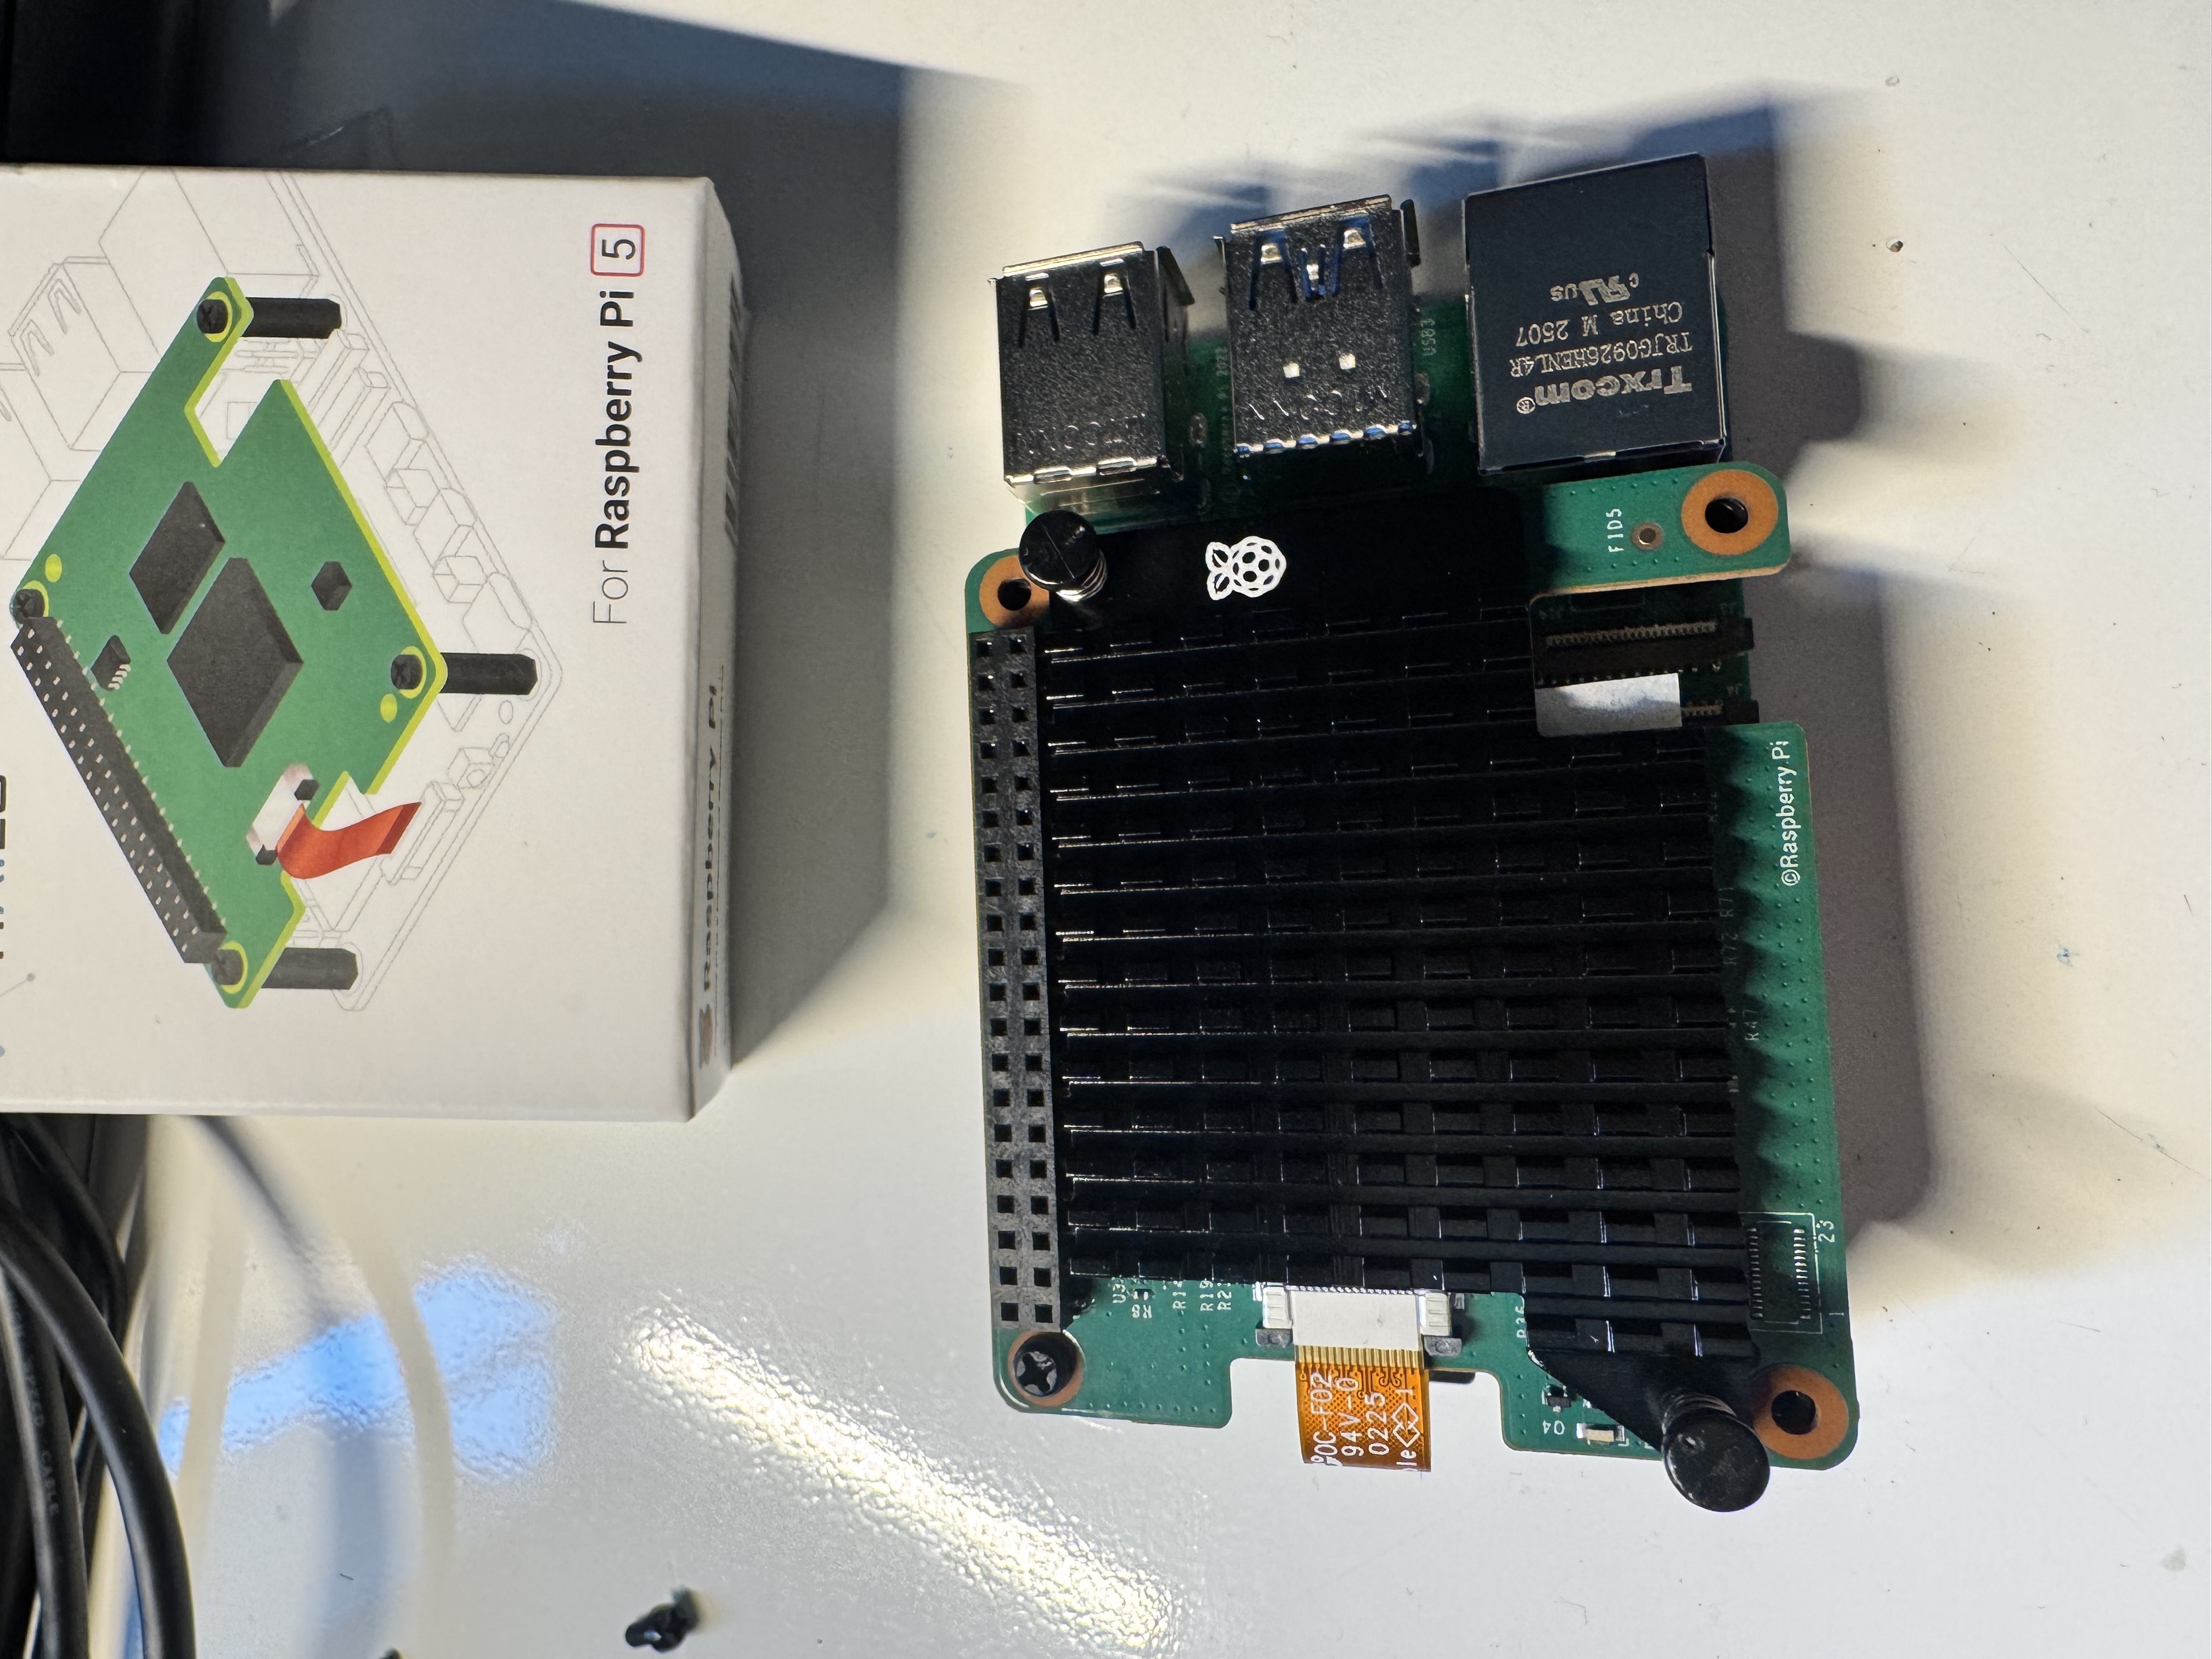
One thing worth noting: the HAT+ 2 ships with its own heatsink (a black finned strip) for the Hailo-10H chip. It’s in the box — don’t discard it thinking it’s packaging.
Physical assembly
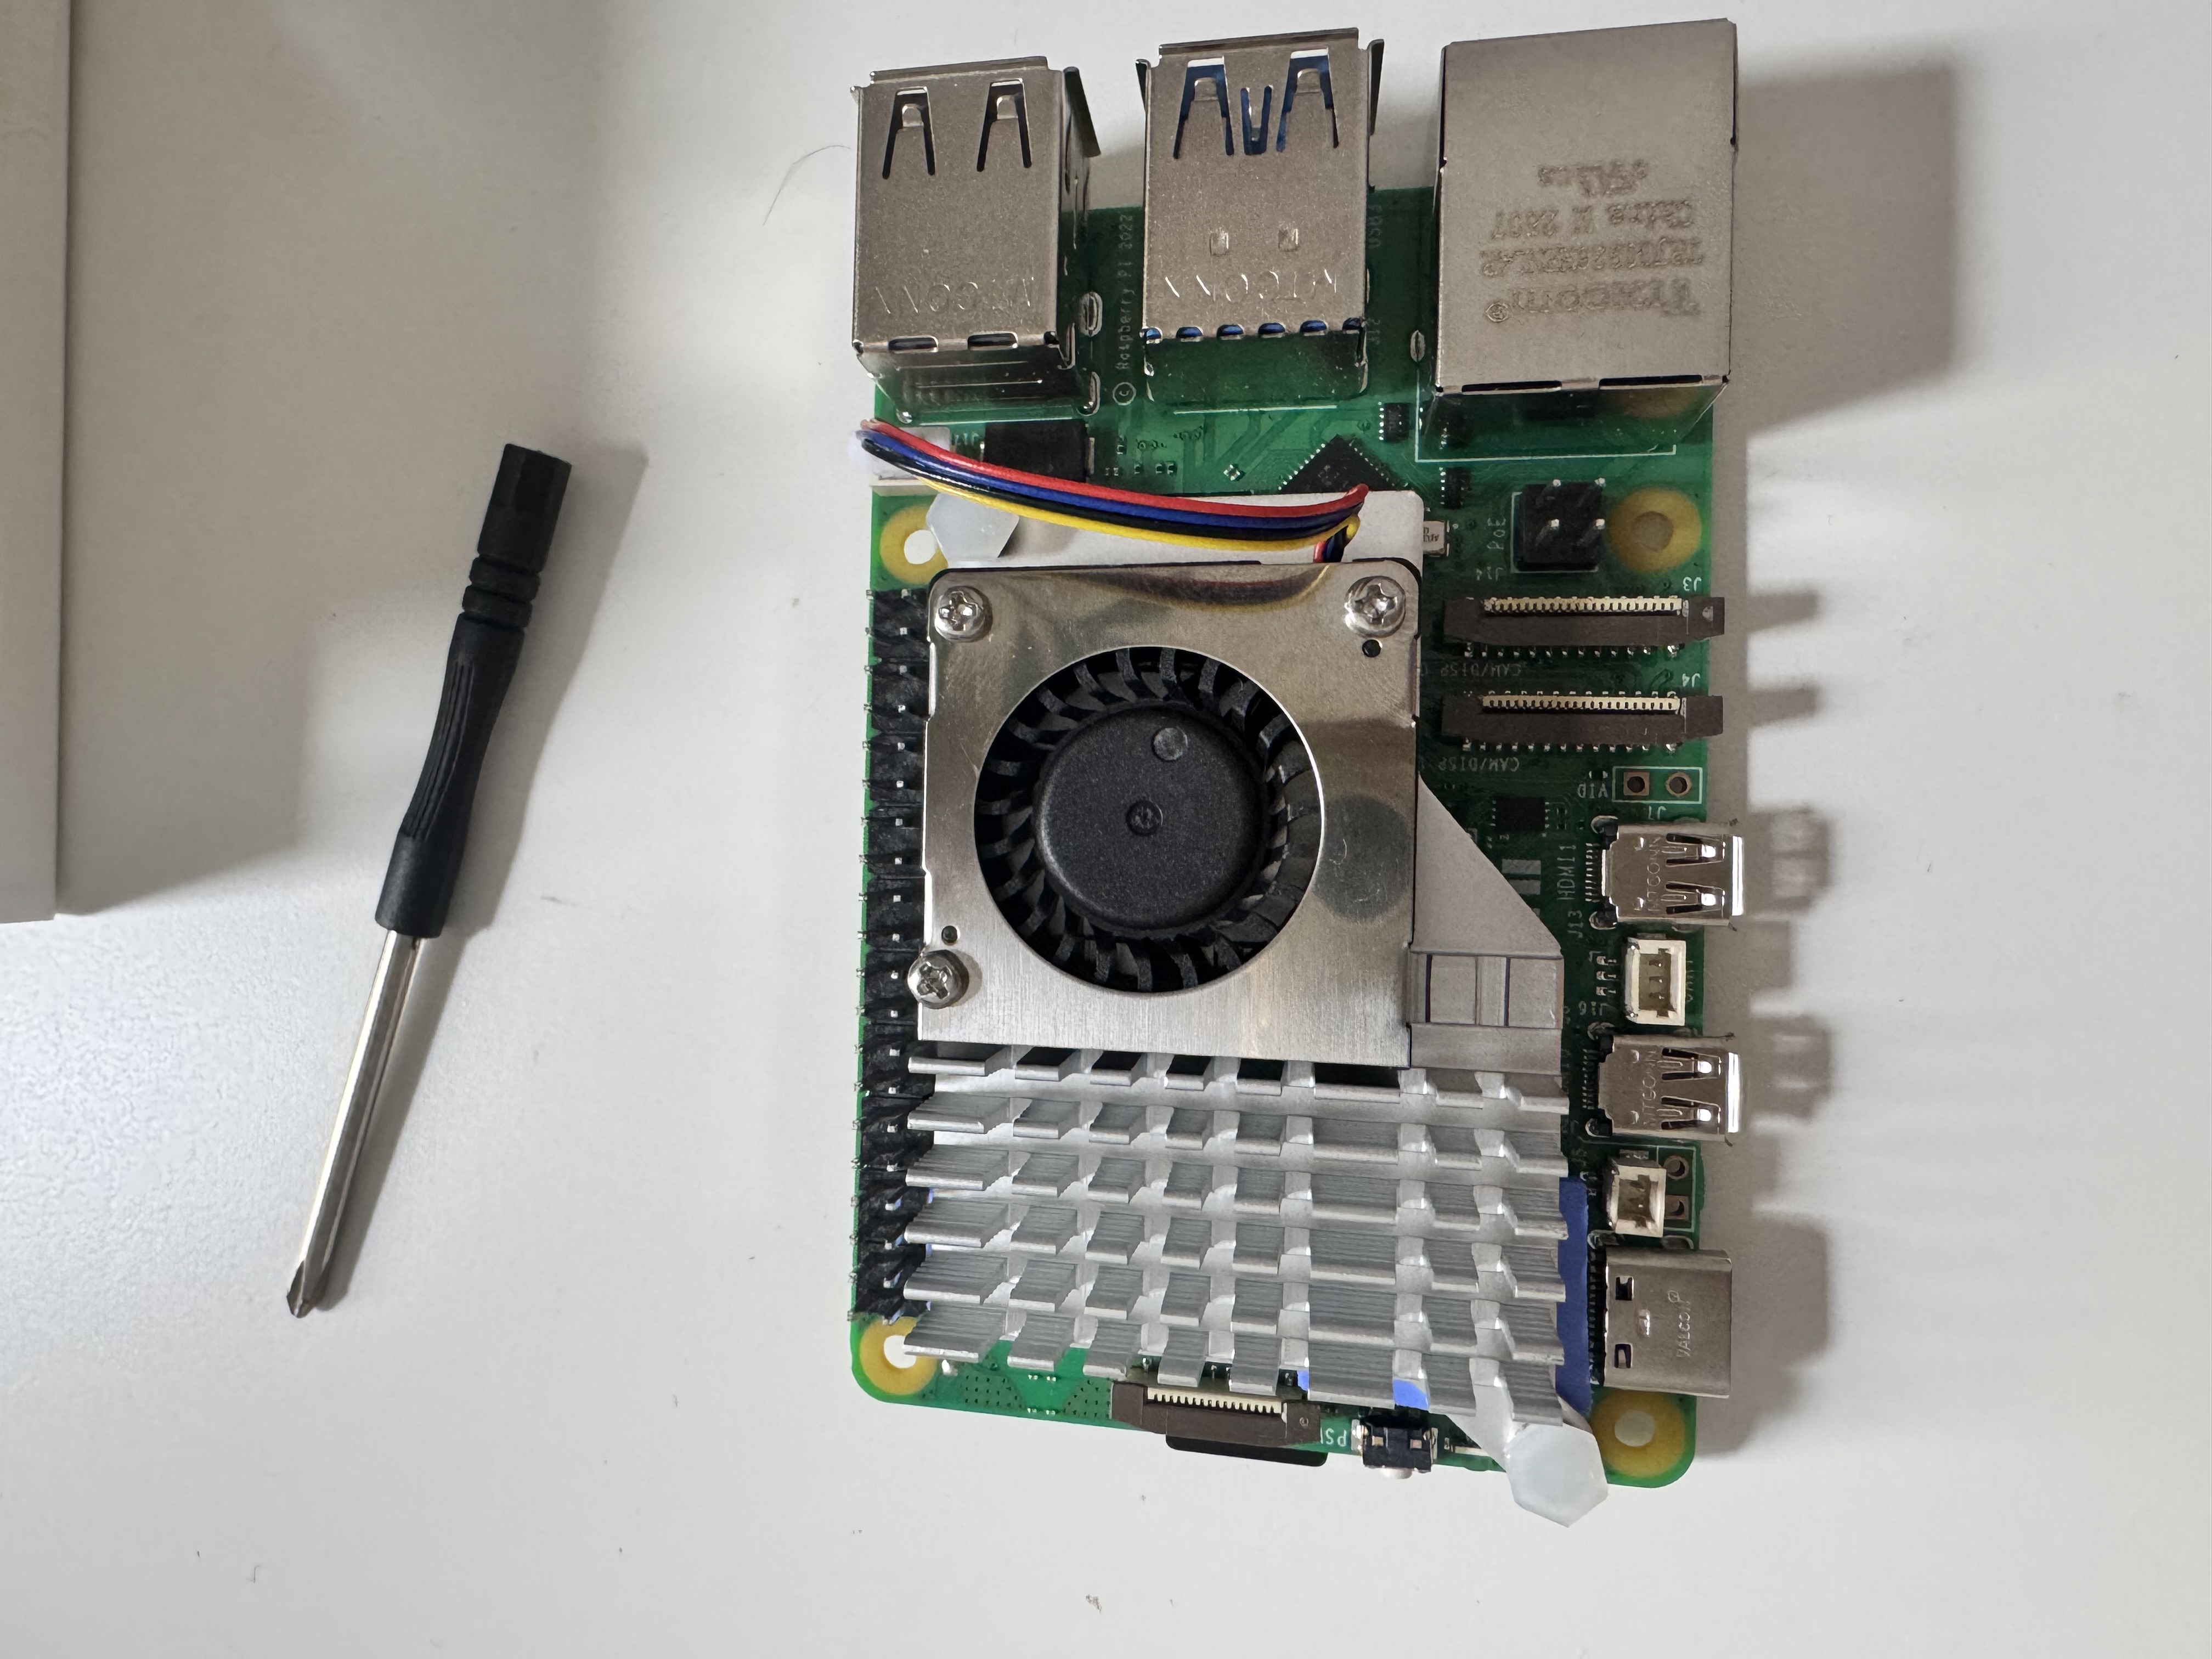
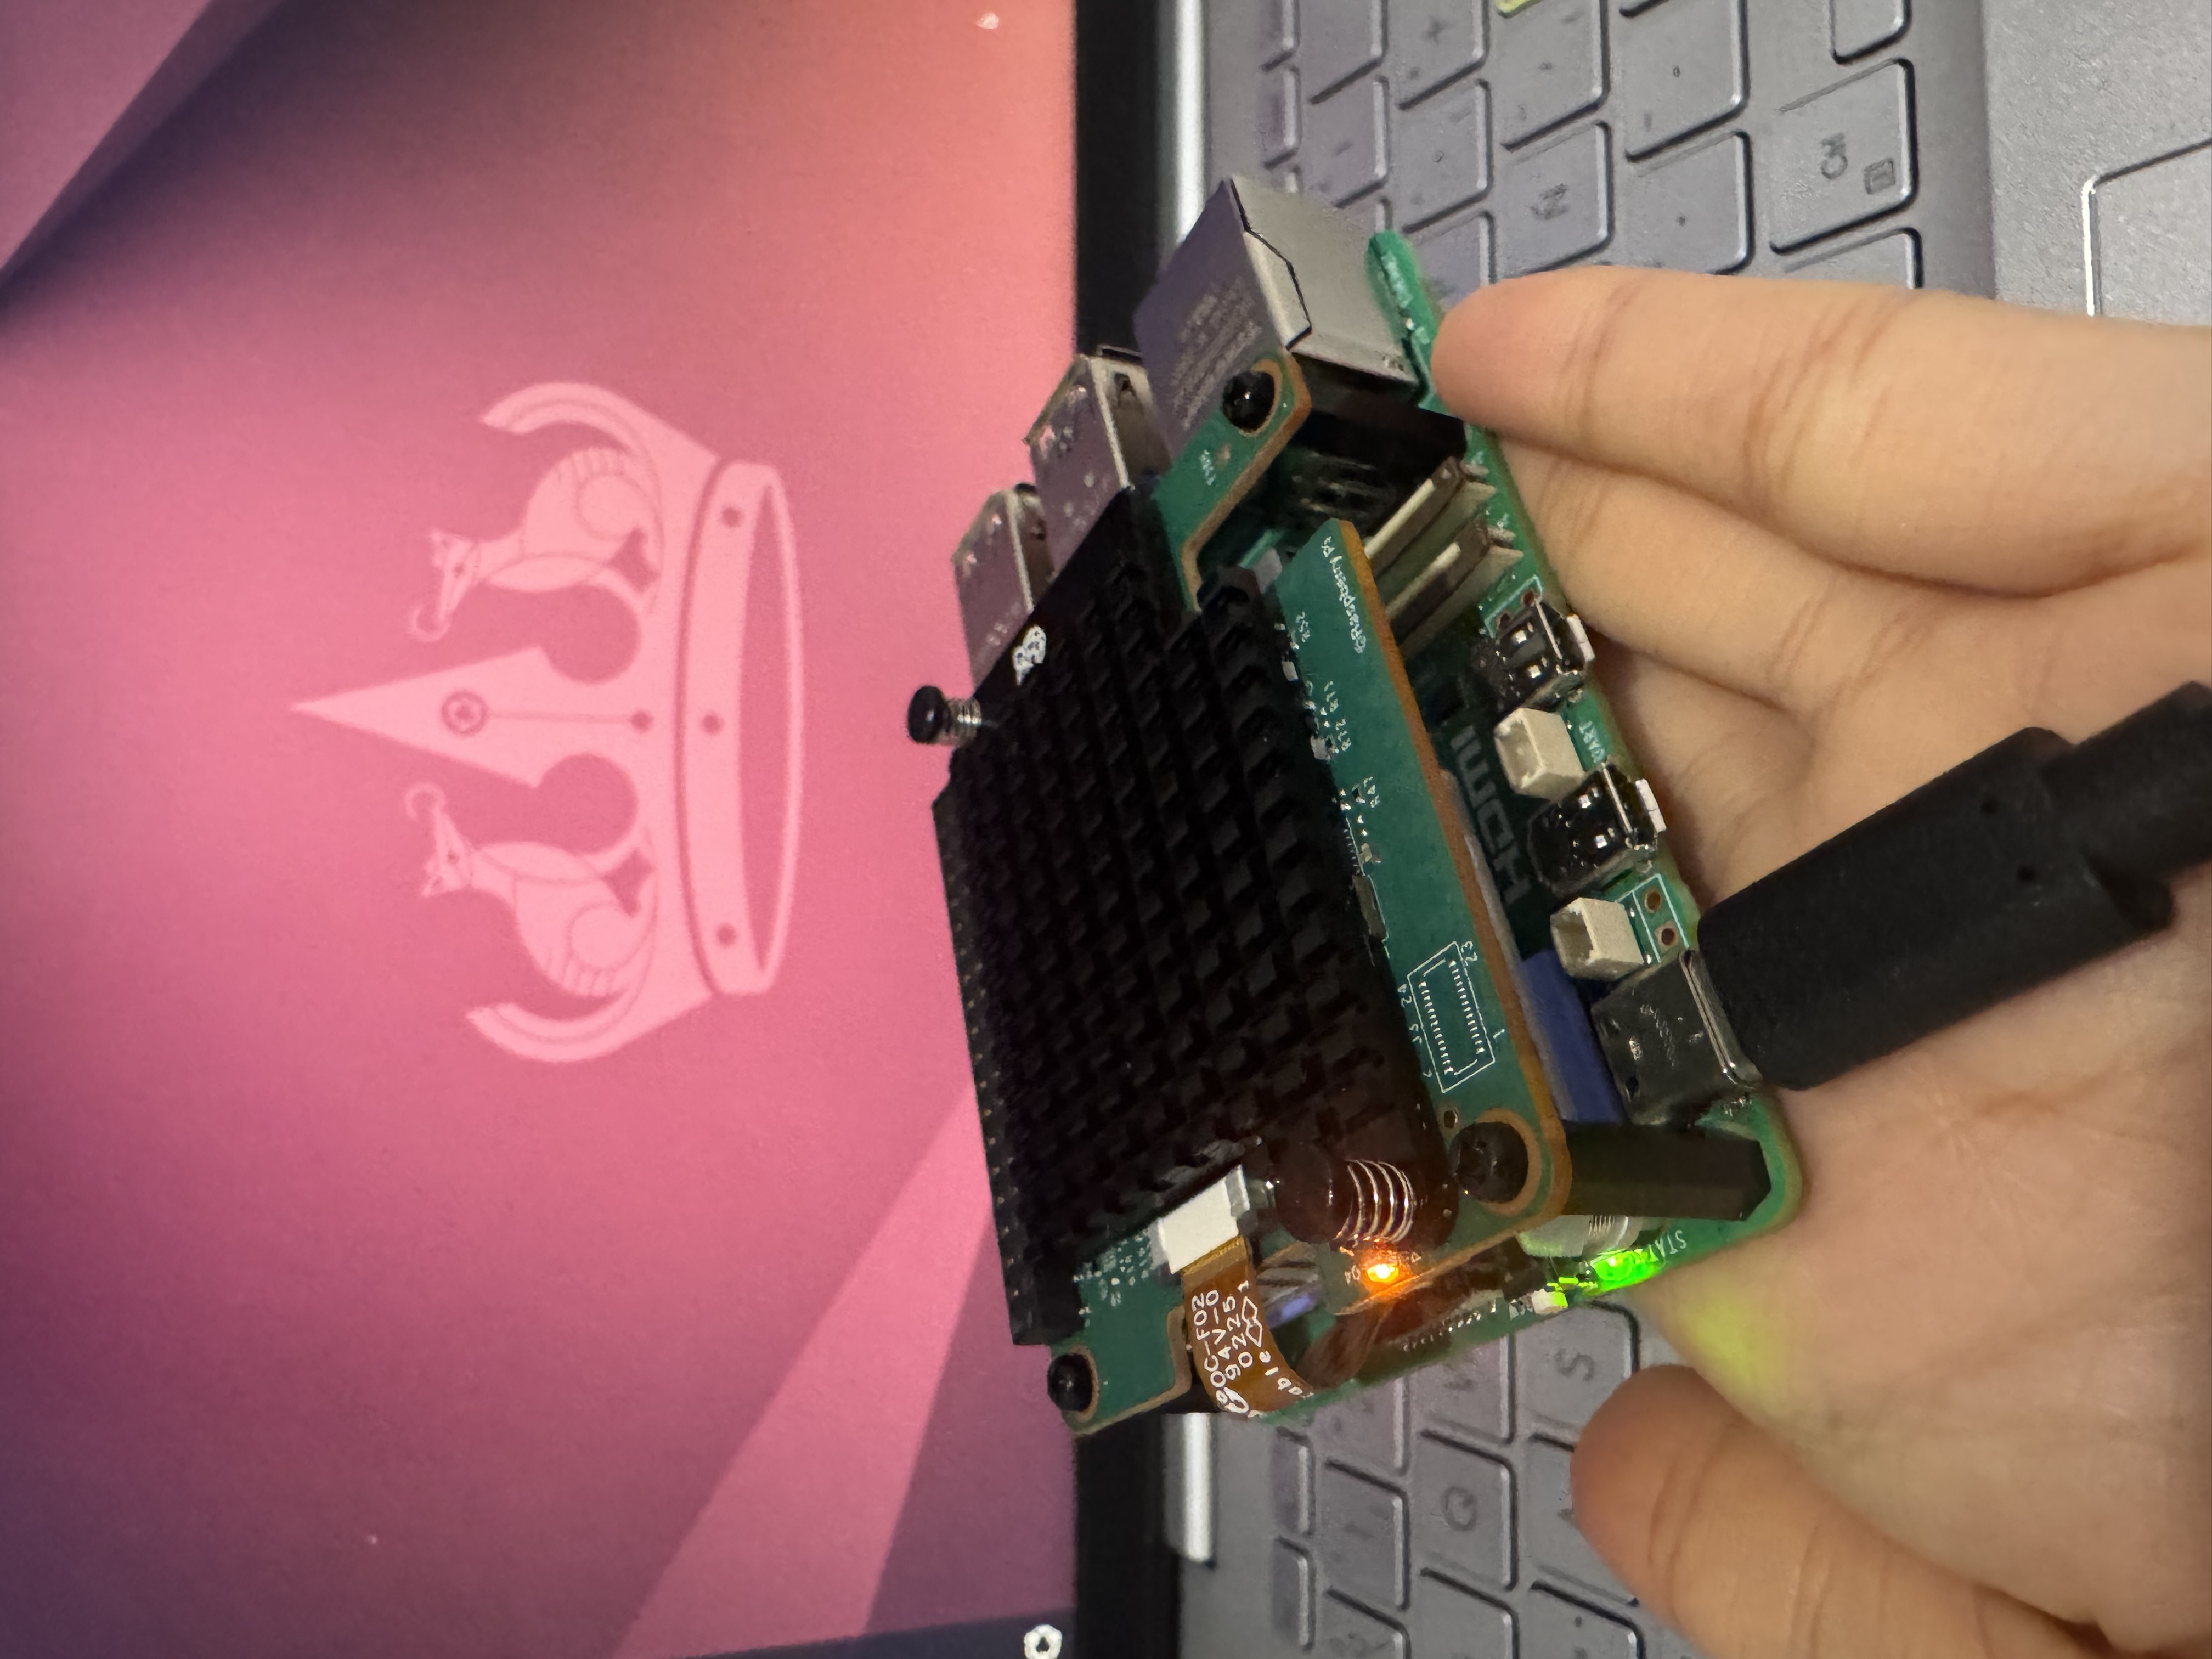
Step 1 — Active cooler on the Pi first. Before touching the HAT, mount the active cooler on the Pi 5. The cooler clips onto the SoC and the fan header plugs into the dedicated 4-pin connector near the USB ports. Seat the thermal pad firmly. This step is easier to do without the HAT in the way.
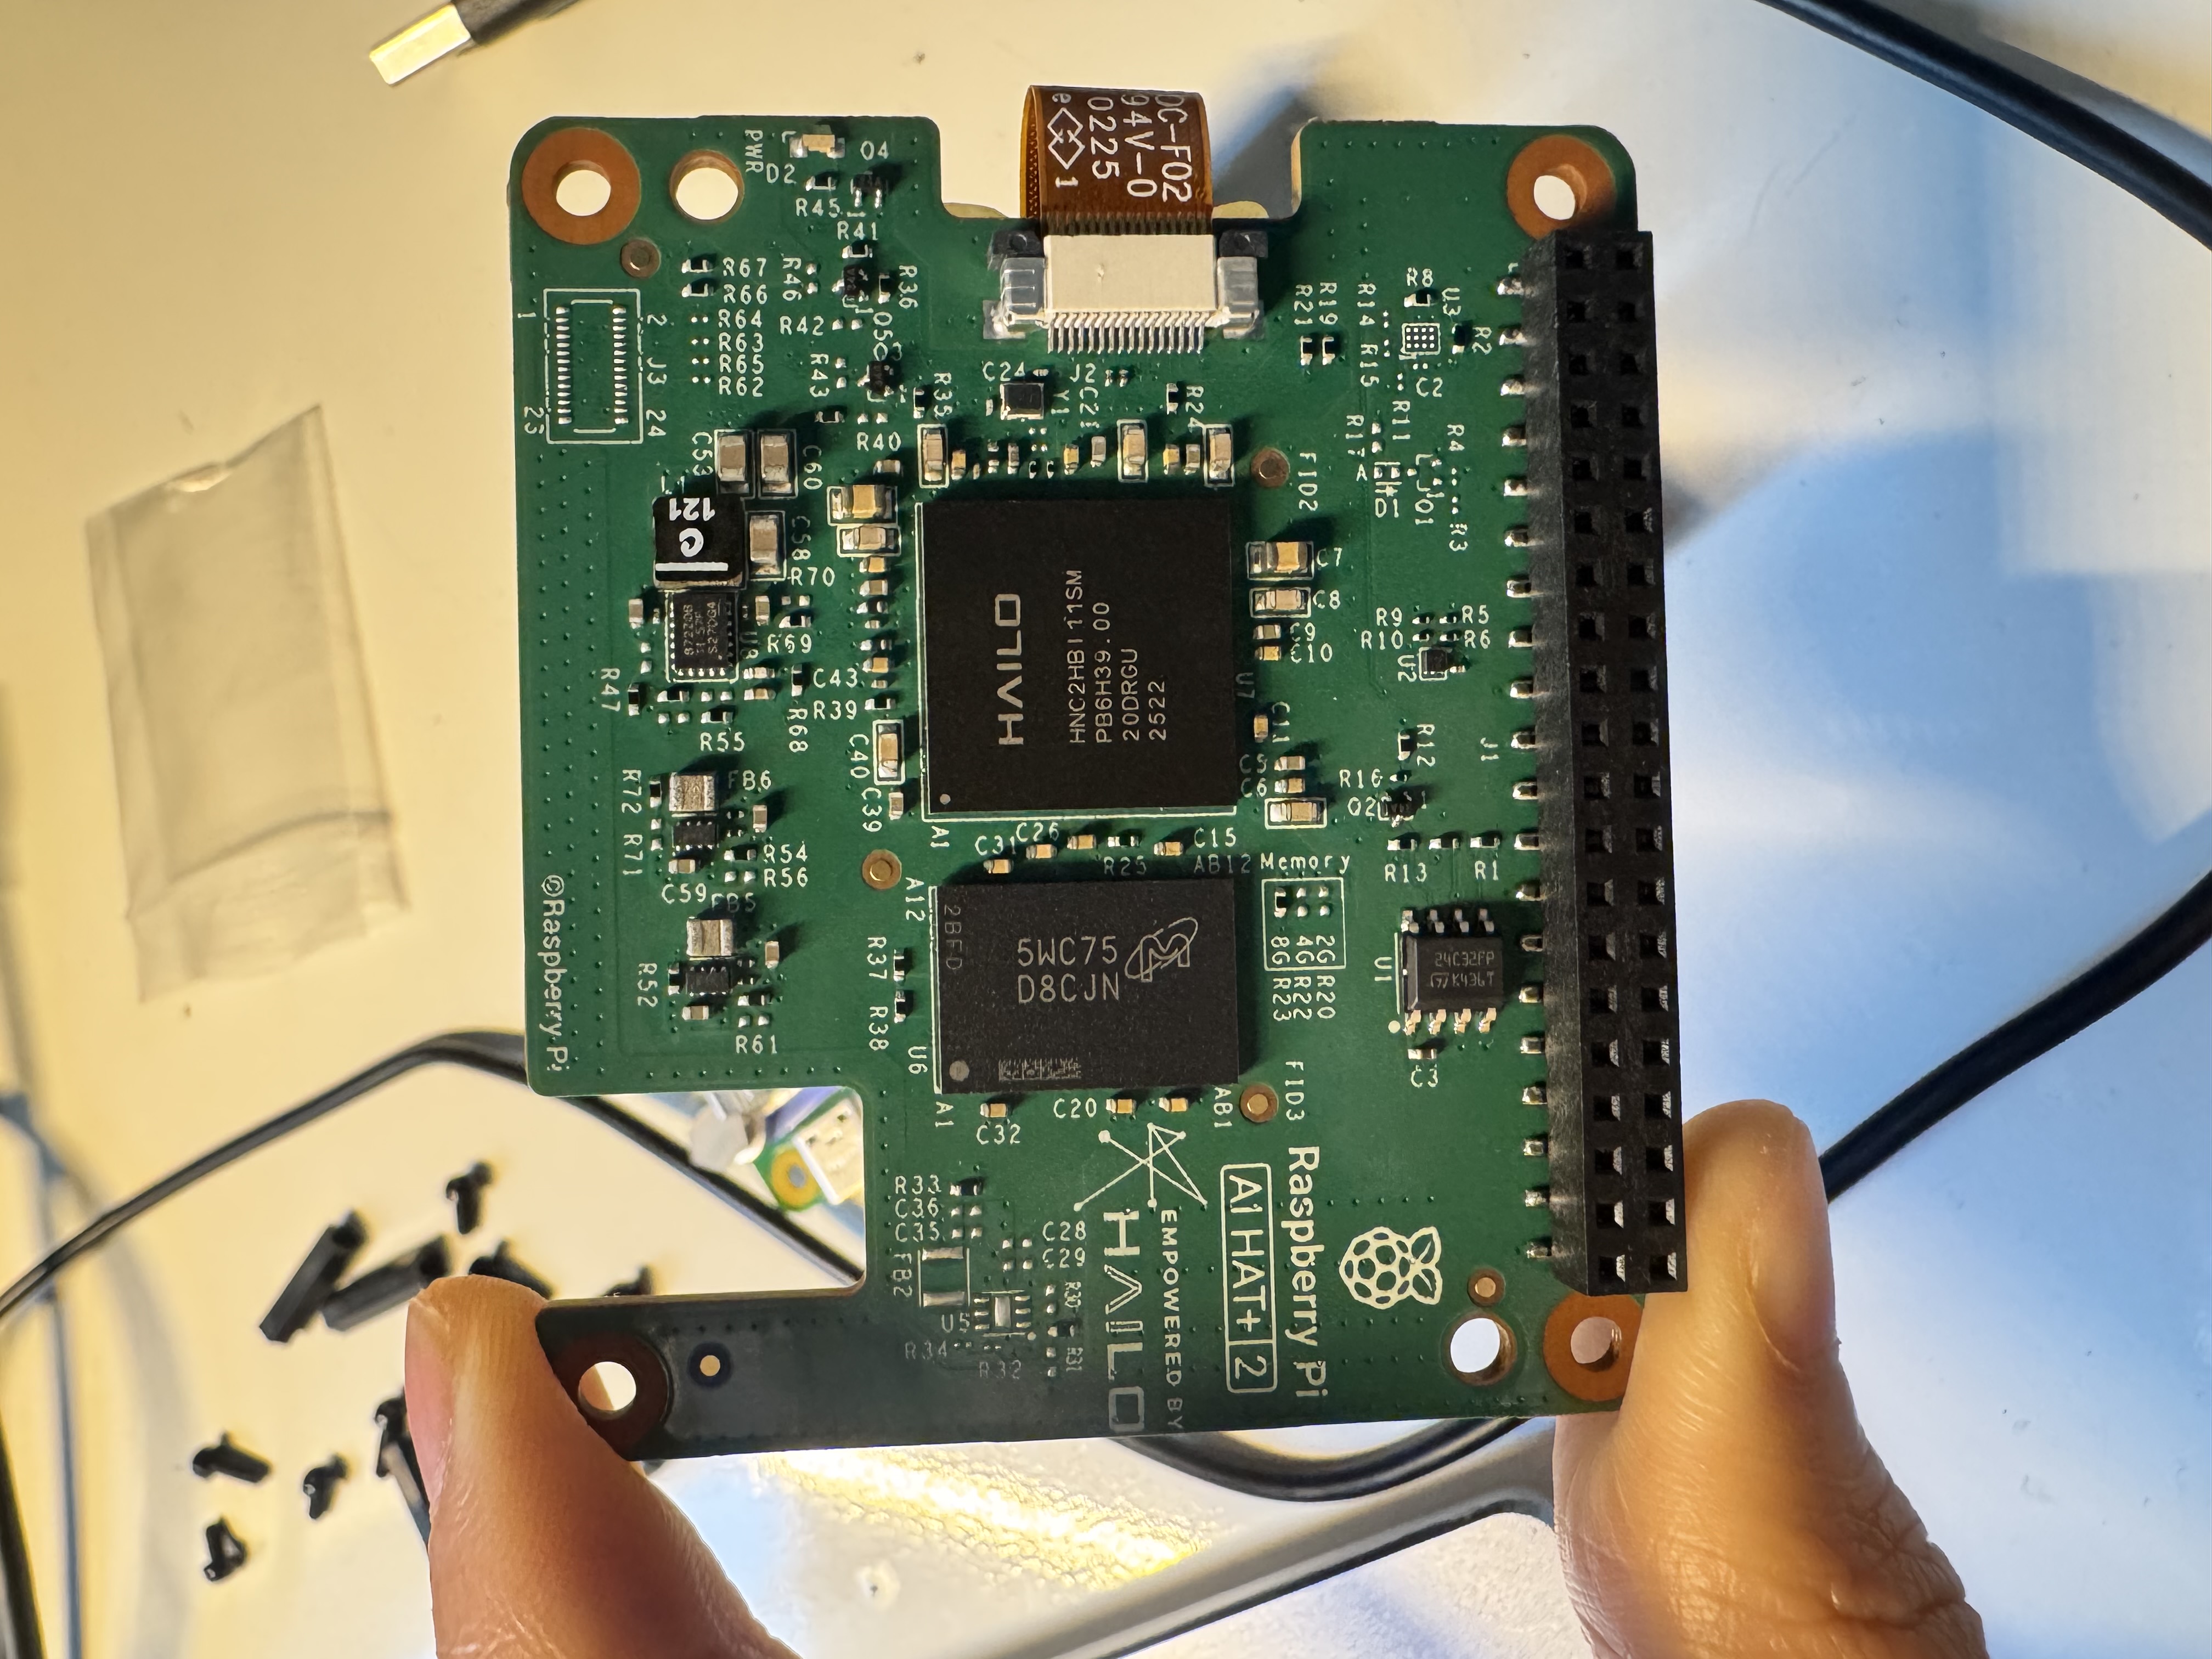
Step 2 — Apply the HAT heatsink. The included heatsink goes on the back of the HAT board (the side with the Hailo-10H die). Use the included thermal pad. Don’t skip this — the Hailo-10H runs warm under sustained inference and the heatsink makes a real difference.
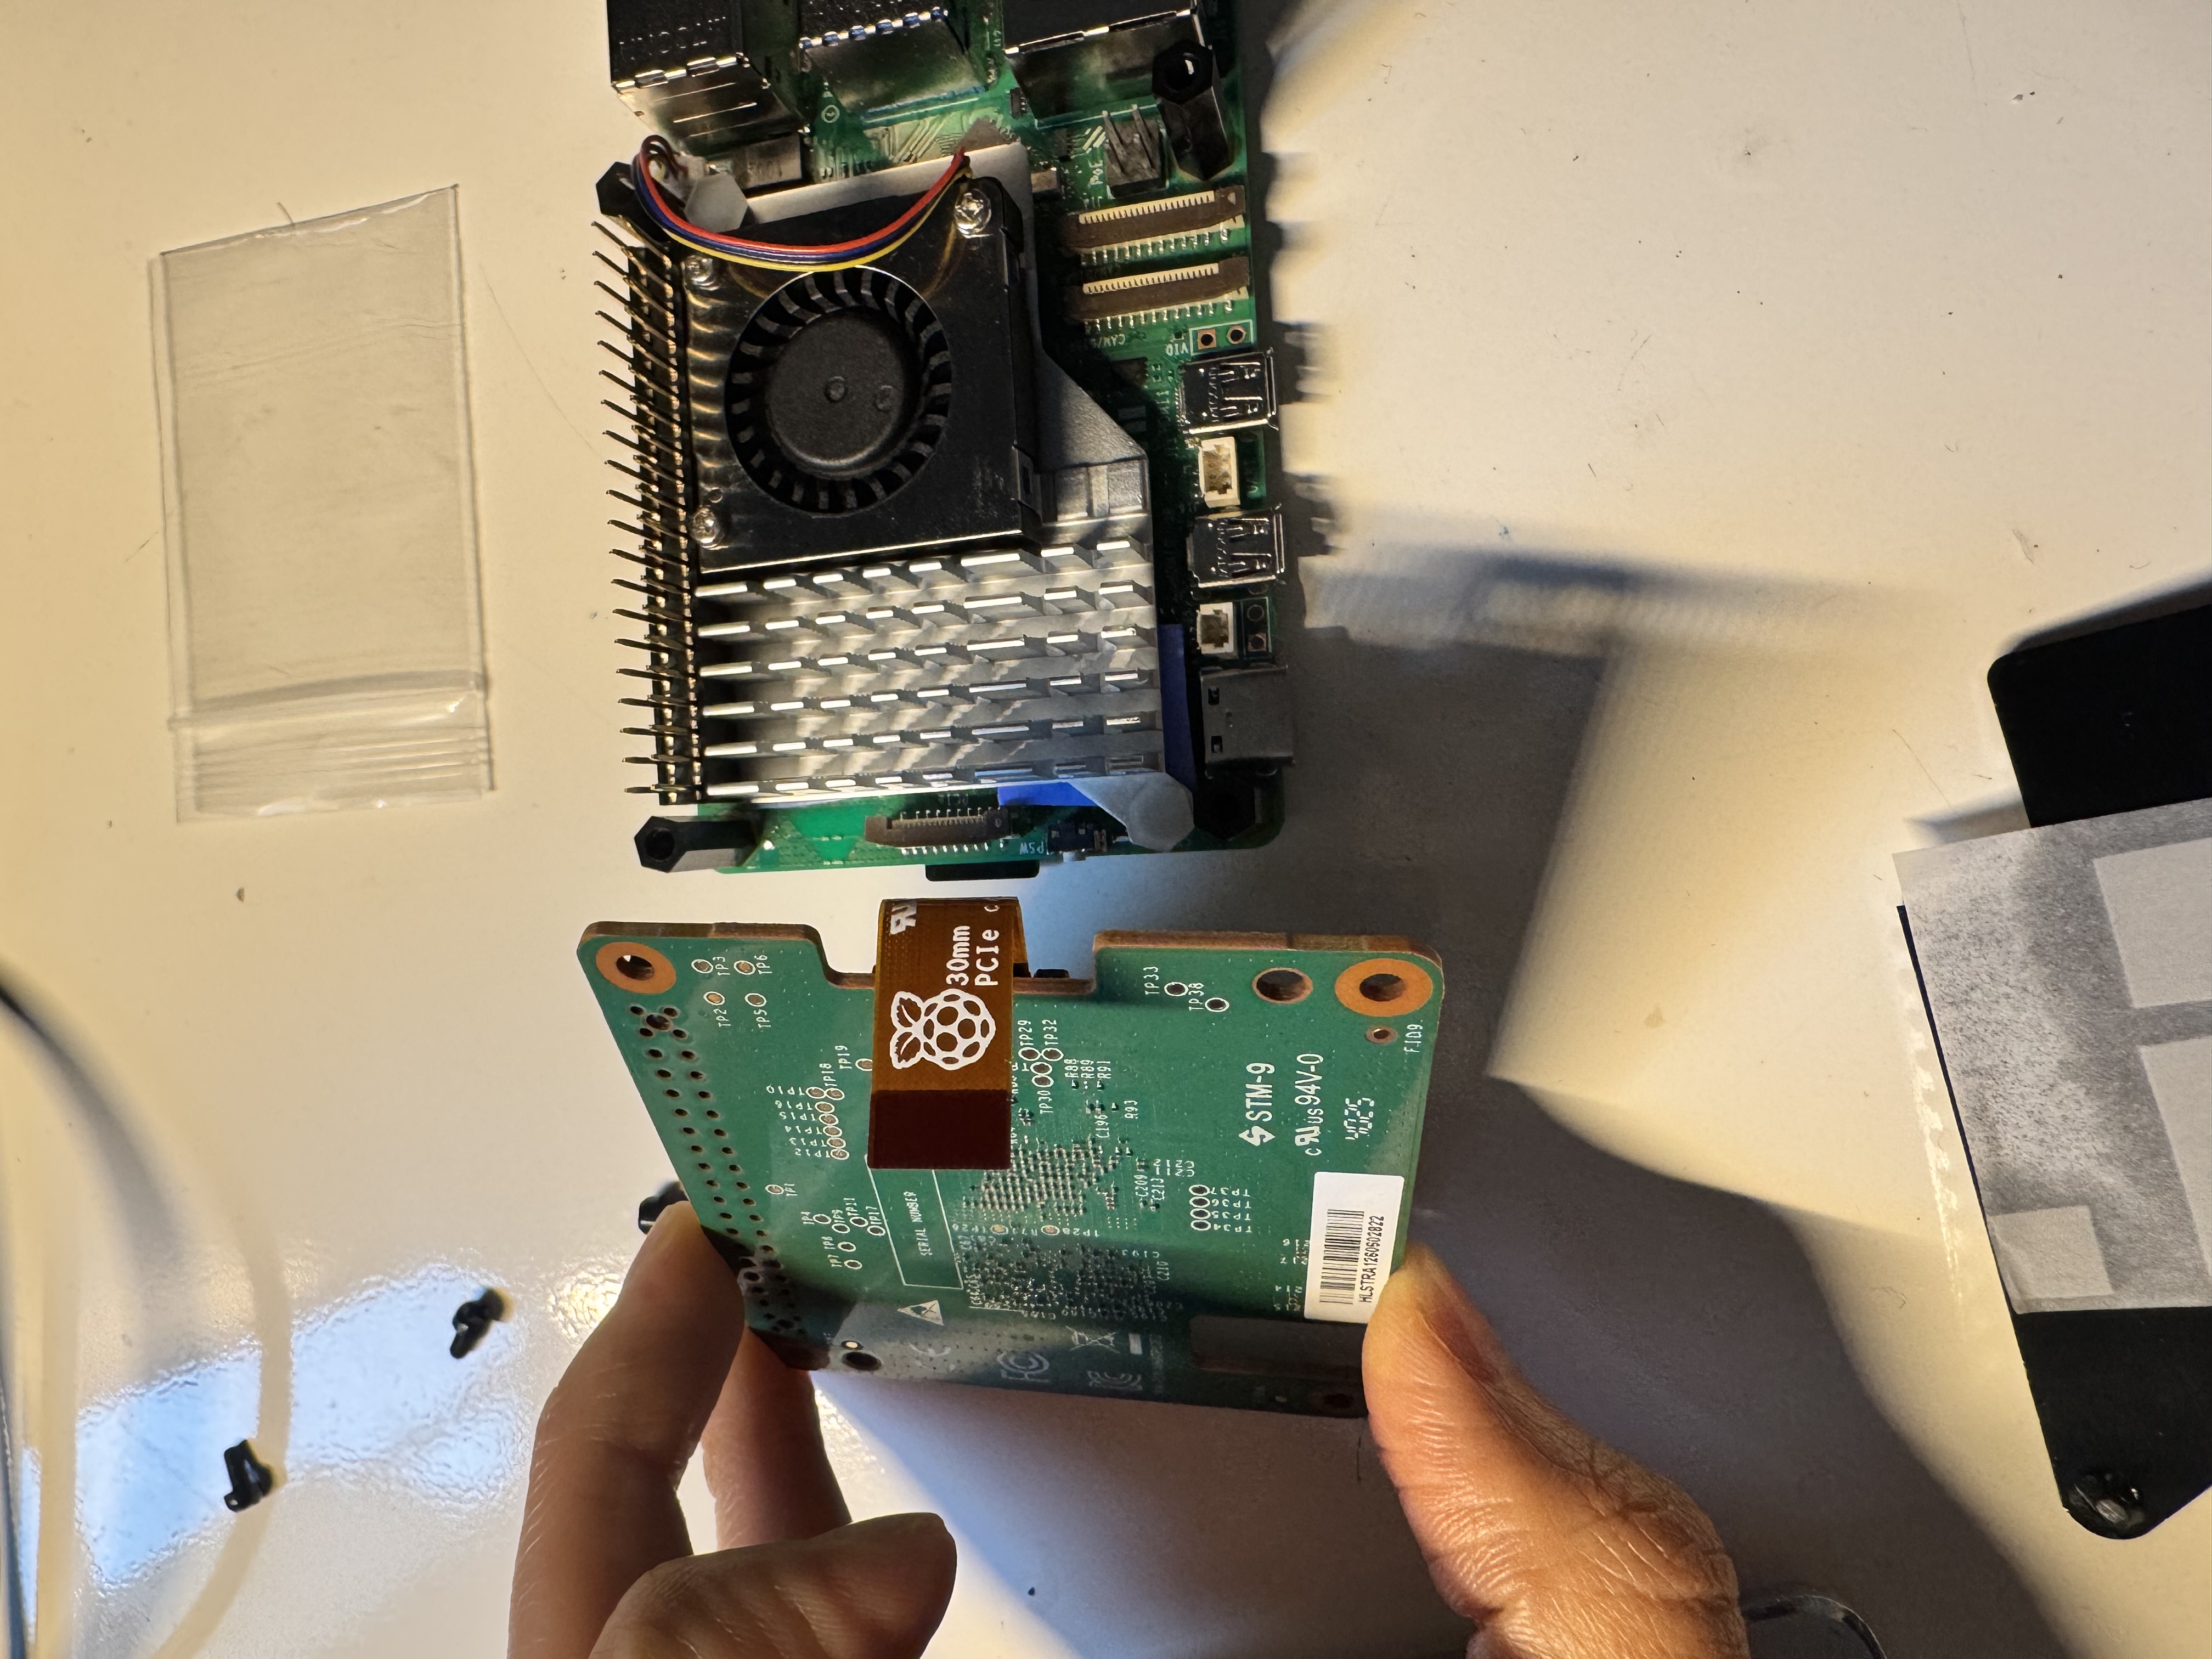
Step 3 — The PCIe flex cable. This is the part that catches people off guard. The HAT+ 2 connects to the Pi 5 via two paths: the 40-pin GPIO header (power and signals) and a short PCIe FPC flex cable (the actual data lane to the NPU). The flex cable is the brown ribbon labeled “30mm PCIe” on the HAT board.
Route the flex cable before pressing the HAT down: one end into the HAT’s FPC connector, the other into the Pi 5’s PCIe FPC slot (bottom of the board, near the microSD). Both connectors have a locking latch — lift to open, press down to lock.
Step 4 — Seat and screw. Align the 40-pin header and lower the HAT onto the Pi. Press down evenly until the GPIO connector is fully seated, then secure the four standoff screws. The HAT should sit flush with no gap.
Step 5 — Flash the microSD. Use Raspberry Pi Imager to write Raspberry Pi OS Bookworm 64-bit. In the advanced settings, enable SSH and set your hostname and credentials before writing — it saves a keyboard/monitor session.
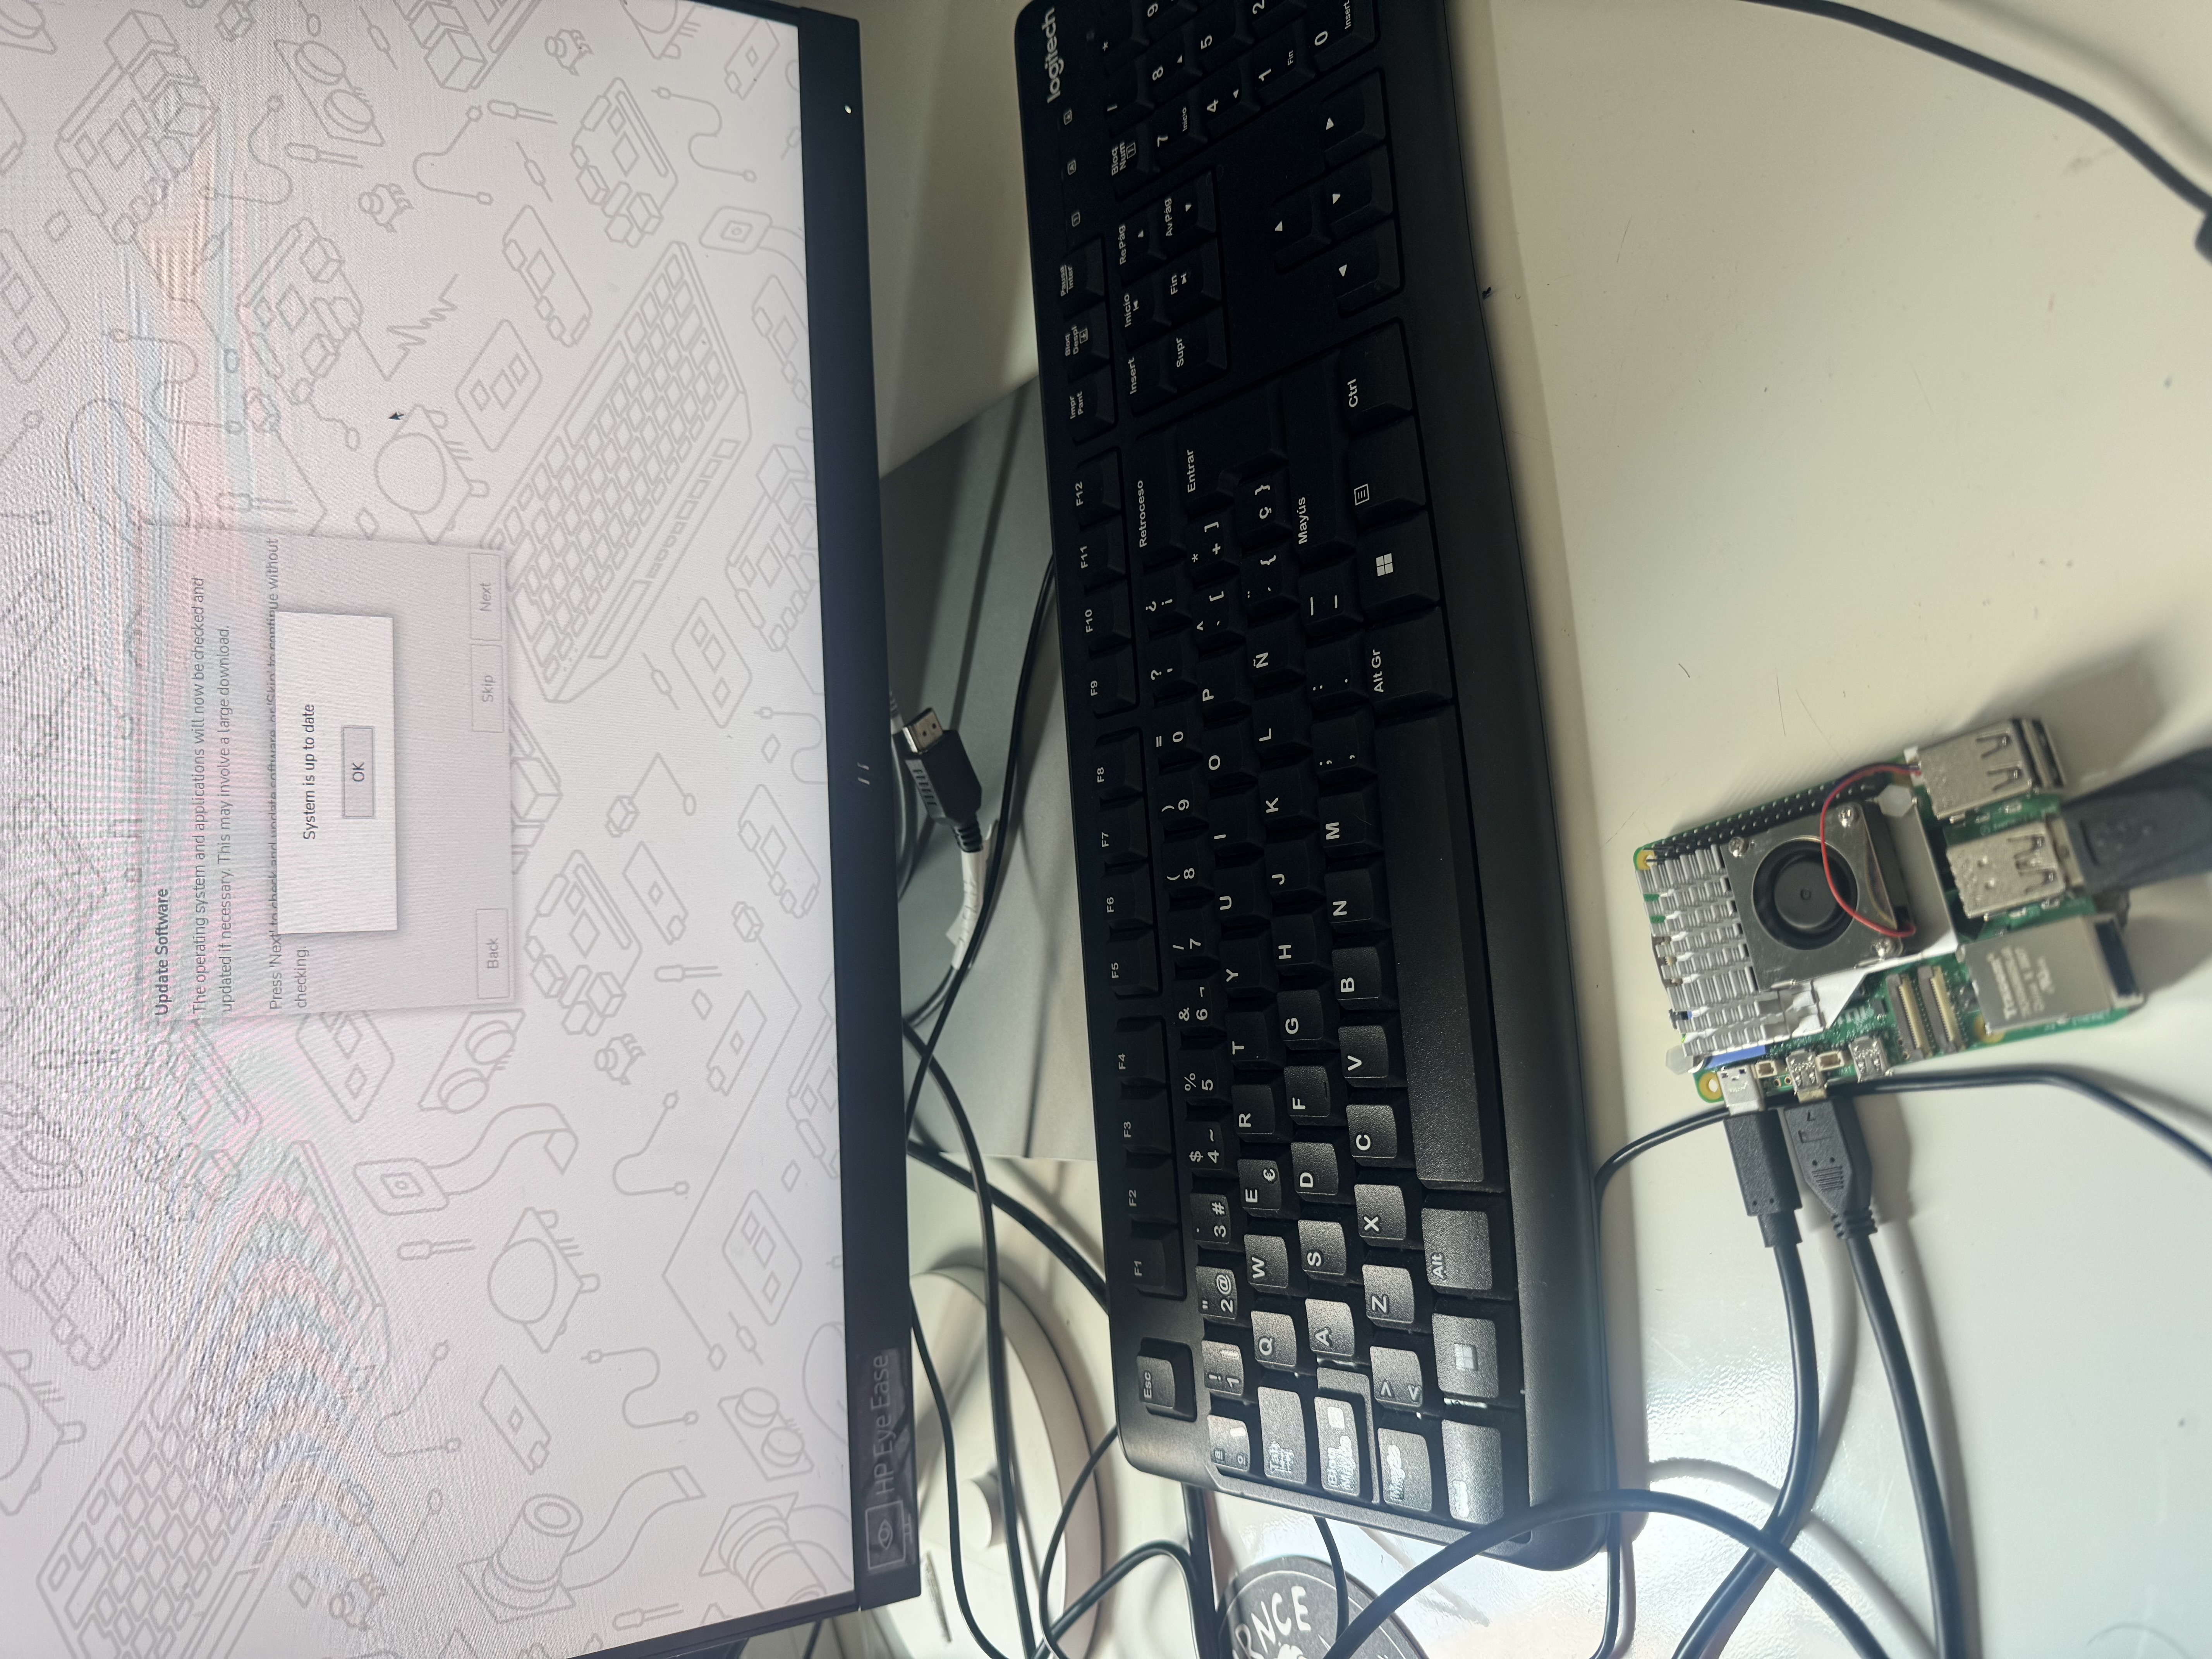
First boot and OS setup
Insert the microSD and power on. WiFi can be configured two ways: via Raspberry Pi Imager’s advanced settings before flashing, or directly through the setup wizard if you have a monitor connected over HDMI.
Once the wizard is done, update everything before touching the Hailo stack:
# Verify you're on 64-bit — Hailo packages require aarch64
uname -m

# Full system update first
sudo apt update && sudo apt full-upgrade -y
sudo reboot
After reboot, join the same Tailscale network as the DGX so both machines are reachable by hostname from anywhere:
curl -fsSL https://tailscale.com/install.sh | sh
sudo tailscale up
tailscale ip -4   # note this IP for your SSH config
From here on, SSH uses the Tailscale IP — no dependency on the local network.
PCIe configuration
The AI HAT+ 2 talks to the Pi over PCIe. Raspberry Pi OS doesn’t enable the PCIe lane or Gen 3 speed by default, so you need to add two lines to the boot config:
# Check what's currently set
grep -i pcie /boot/firmware/config.txt

# Add the two required lines if absent
echo "dtparam=pciex1" | sudo tee -a /boot/firmware/config.txt
echo "dtparam=pciex1_gen=3" | sudo tee -a /boot/firmware/config.txt

sudo reboot
After rebooting, verify the Hailo chip appears on the PCIe bus:
lspci | grep -i hailo
# Expected: 0001:01:00.0 Co-processor: Hailo Technologies Ltd. Hailo-10H AI Processor (rev 01)
If that line shows up, the hardware is wired correctly.
Driver installation — the part where I lost time
The gotcha nobody documents clearly: the default Raspberry Pi repository ships
hailo-all, which is the metapackage for the original AI HAT (Hailo-8, PCI ID1e60:2864). The AI HAT+ 2 uses the Hailo-10H (PCI ID1e60:45c4). If you installhailo-allon Hailo-10H hardware, the driver loads without any error — but/dev/hailo0is never created andhailortclijust returns silence. No helpful message.
The correct package for the HAT+ 2 is hailo-h10-all:
sudo apt install hailo-h10-all
sudo reboot
This pulls in the kernel module (hailo_pci), the runtime (hailortcli), Python bindings, the GStreamer pipeline toolkit (TAPPAS), and a precompiled model zoo.
Optional: upgrade to HailoRT 5.2.0. The repo ships 5.1.1. If you want 5.2.0 (needed for Hailo Dataflow Compiler compatibility with newer models), download the .deb packages from the Hailo Developer Zone and install manually:
# Transfer to Pi
scp hailort-pcie-driver_5.2.0_all.deb \
    hailort_5.2.0_arm64.deb \
    hailo_gen_ai_model_zoo_5.2.0_arm64.deb \
    enmin@<tailscale-ip>:~/

# Install in order: driver → runtime → models
sudo dpkg --install hailort-pcie-driver_5.2.0_all.deb
sudo dpkg --install hailort_5.2.0_arm64.deb
sudo dpkg --install hailo_gen_ai_model_zoo_5.2.0_arm64.deb

sudo apt --fix-broken install   # repair any dep gaps
sudo ldconfig                   # rebuild shared library cache
sudo reboot
The ldconfig step matters: with manual .deb installs on top of a previous version, the postinstall script sometimes fails to run it, and then Python can’t find the Hailo libs.
Verification
# Driver loaded?
lsmod | grep hailo
# hailo_pci  147456  0

# Device node present?
ls /dev/hailo*
# /dev/hailo0

# Full chip identification
hailortcli fw-control identify
The output you want to see:
Device Architecture: HAILO10H
Firmware Version: 5.1.1 (release,app)
HAILO10H is the line that matters. If it shows HAILO8, you installed the wrong package.
First inference
Quick sanity check — Python access to the device:
python3 - <<'EOF'
from hailo_platform import VDevice
with VDevice() as device:
    print("Hailo-10H OK:", device.get_physical_devices())
EOF
If you hit Permission denied, add your user to the hailo group:
sudo usermod -aG hailo $USER && newgrp hailoThen benchmark any model from the zoo:
hailortcli run /usr/share/hailo-models/resnet_v1_50.hef --measure-fpsFor a ResNet-50 at INT8, you should see hundreds of FPS — the 40 TOPS number is real.
What’s next
- Get the Camera Module 3 Wide and test real-time inference latency end-to-end
- Upgrade to HailoRT 5.2.0 and verify Dataflow Compiler compatibility with Gemma 4 E4B
- Start building the egocentric data pipeline with TAPPAS GStreamer elements
Fine-tuning will run on the DGX Spark, not on the Pi — for the compute setup, see Server Setup: DGX Spark for Local Fine-Tuning.